
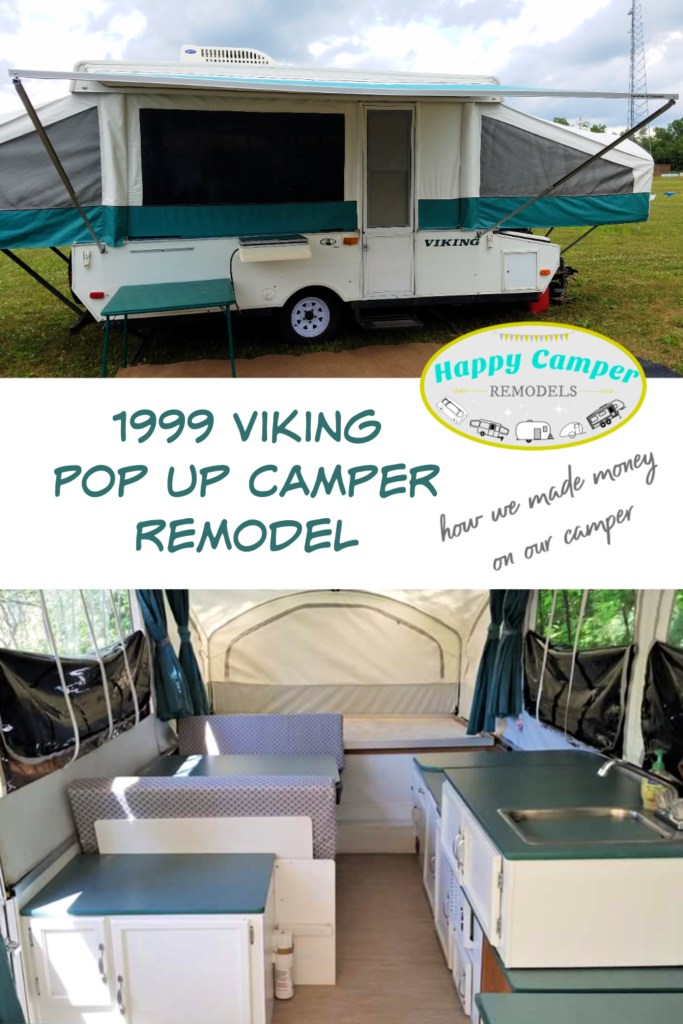
From buying to renovating and selling at a higher price, this Viking Pop Up Camper Remodel shows that small improvements can make a big difference.
How we took our 1999 Viking Pop Up Camper and cleaned it up, painted, put in new flooring, recovered the cushions, and made other improvements. In the end, we got a fresh, comfortable pop up camper we loved and managed to sell it for more than we paid!
As an Amazon Associate I receive earnings from qualifying purchases. I take great care to hand-select items based off my own experience, high praise reviews, and previously purchased or recommended items. Read our Privacy Policy here.
Some of my favorite memories are from the years when our family had a pop up camper. We traveled to local camp grounds, Yellowstone, Mt. Rushmore, and Jackson Hole – to name a few of the most memorable ones.
There is something about a pop up camper that I’ve always loved. They are so bright and airy. There is no better place to wake up than in a cozy tent bed with the sunshine flowing in.
When our kids started getting older, I couldn’t think of anything more I wanted us to do than to travel around with our own pop up camper.
Our 1999 Viking Pop Up Camper Remodel
A few years ago when this idea really took hold, I couldn’t get enough of looking at pop up camper makeovers on Pinterest. I was checking Craigslist nightly for the perfect camper.
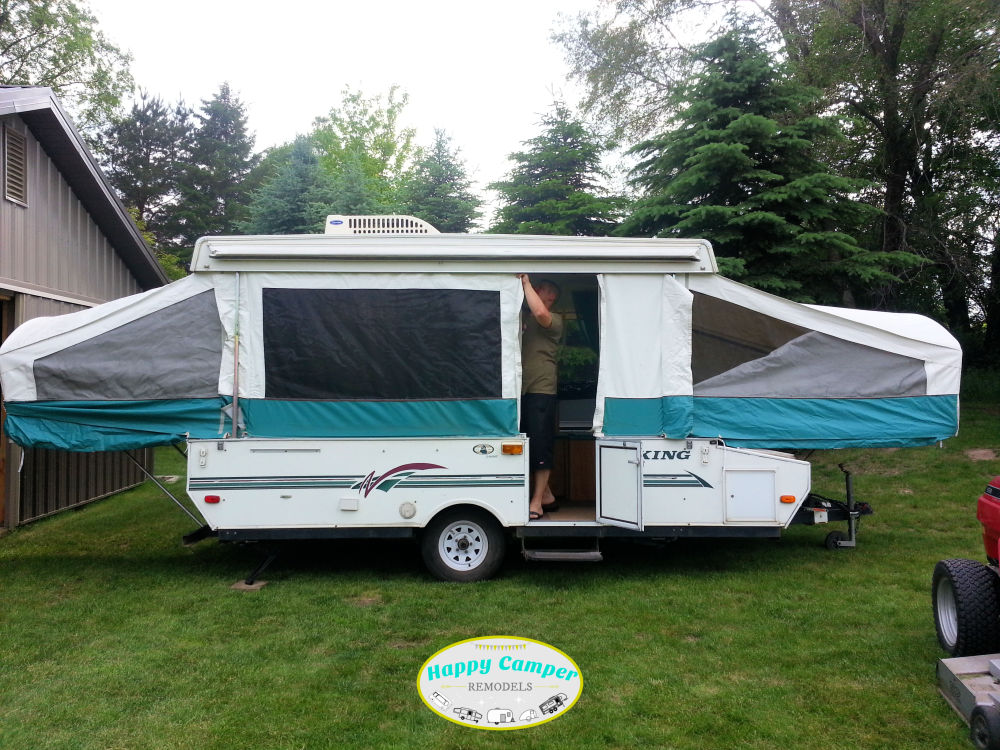
After a long wait, the right one finally came along. I’m pretty sure it was due to a poor description and tiny, blurry photos… Fortunately, for some, reason this 1999 Viking pop up with air conditioning, toilet, and shower wasn’t snatched up immediately.
Thank goodness! For that reason, and the dirty state of the camper, we were able to talk them down from $2500 to $2000. Such a steal for all the extras!
A lot of work ahead!
It didn’t take long before we tore into our Viking Pop Up and got to work. If you want a look at how she looked before – or during – have a look at the original post of the introduction to our camper.
The first things to tackle in our Viking pop up camper remodel was getting rid of the musty old camper smell. We pulled out every cushion, ripped down all the valances and curtains, and opened everything up.
Getting the smell out was one of the most important parts of our Viking pop up camper remodel! Whew! After all the airing out and deodorizing we did things only got better with the other projects.
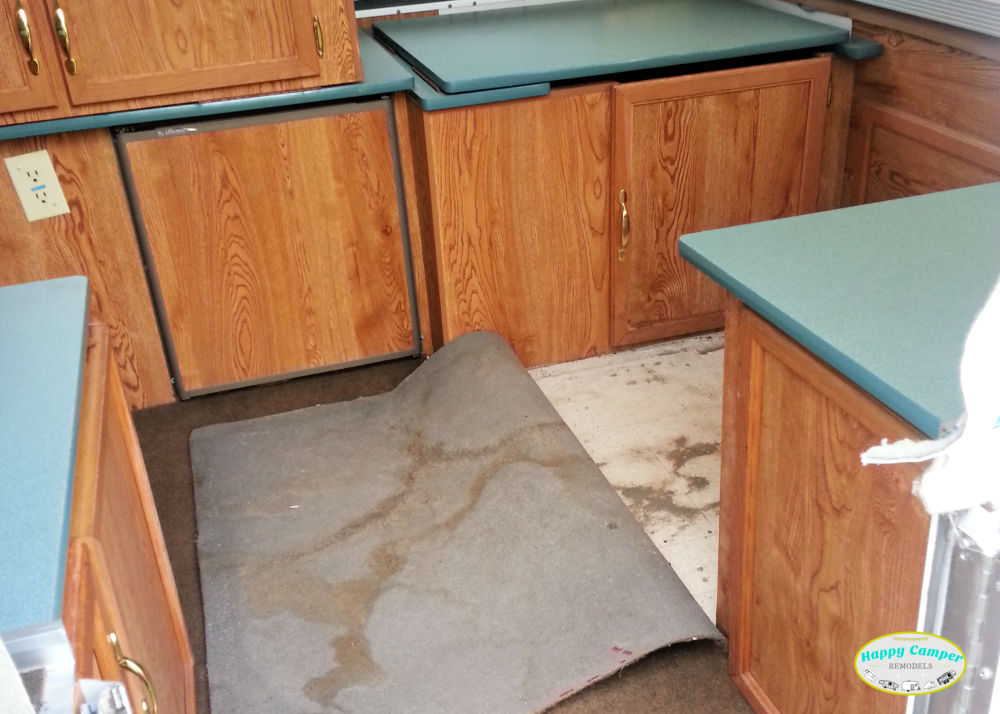
Next, we pulled out and painted the camper cabinets and spray painted the pulls. As all that was out, the vinyl flooring was laid. Everything was transformed to make it bright and airy.
Shortly after all that, the last thing to do was recover the camper cushions. It was an intimidating project, but it worked out so well. We found a fantastic way to sew the corners and make the covers removable. Plus, they looked great!

We were so happy with the fresh and clean look of our Viking pop up camper remodel. For the next couple years, we enjoyed a couple camping trips with the kids and completed some very minor pop up camper repairs.
Selling after our Viking pop up camper remodel
The camper remodel bug had hit us, so we started looking to upgrade to a hybrid camper. With our Viking pop up camper remodel, we were able to sell our camper for $1500 more than we paid. We came out pretty great and now have a new camper remodel project in the works!
On to the next one!


[…] we got our first pop up, the first thing we noticed was the smell! I don’t know if I can even explain it. It was part […]
[…] Also Read: Viking Pop Up Camper Remodel […]
[…] Also Read: Viking Pop Up Camper Remodel […]
[…] you’ve read about our 1999 Viking Pop Up – there must be something about that year – you’ll know it was my baby. It […]
[…] Also Read: 1999 Viking Pop Up Camper Remodel […]
[…] our first pop up camper, we were able to use the curtains – after a good cleaning – because they were a solid […]